Have you ever noticed a distracting, unwanted color tint creep into your photos during editing? Most often, it’s an unwanted red color cast that ruins skin tones or makes landscapes look unnatural.
How do we fix this? Simply dragging the white balance temperature slider can mess up all other colors in the image. This is where the most powerful toning tool comes to the rescue: Curves.
In this quick guide, migrated from my old VK group, I will share a simple, time-tested technique to eliminate red color casts and apply a premium color tone using channel-by-channel adjustments.
🛠 The Curves Toning Recipe#
The entire process relies on fine-tuning individual RGB color channels. Instead of moving the master RGB curve (which changes brightness/contrast), we switch to specific color channels.
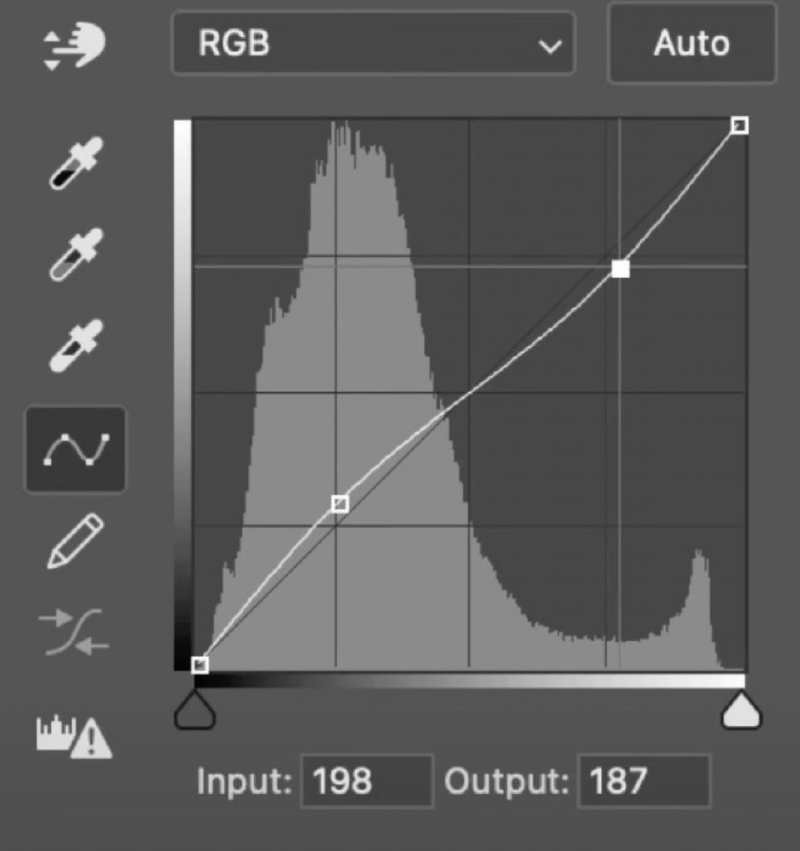
Step 1. Compensating Red via the Green Channel#
Red and green are complementary colors on the color wheel. To neutralize a red cast, we can boost green:
- Switch to the Green channel.
- Click the center of the diagonal line (midtones) to place a point.
- Slightly nudge it upward. Be extremely gentle—we only need a tiny adjustment, otherwise the image will look muddy green.
Step 2. Neutralizing Green and Styling in the Blue Channel#
Boosting green might introduce a greenish cast. We balance this and add a beautiful tone in the blue channel:
- Switch to the Blue channel.
- Create a subtle S-curve:
- Pull the shadow point (bottom-left area) slightly down to introduce a warm yellow hue to the dark areas.
- Push the highlight point (top-right area) slightly up to add a cool blue hue to the bright areas.
- This neutralizes the excess green and creates a gorgeous color contrast between highlights and shadows.
Keyboard Shortcuts: In Adobe Photoshop, you can quickly open the Curves panel by pressing Ctrl + M (on Windows) or Cmd + M (on macOS).
💡 Why This Works#
Adjusting curves allows you to target pixel values within specific tonal ranges. Unlike generic saturation sliders, channel curves let you:
- Remove unwanted tints precisely where they appear (e.g., in midtones, without affecting deep blacks).
- Add a cinematic contrast by split-toning shadows and highlights separately.
- Keep transitions between half-tones natural and smooth.
Try this simple trick on any image with an annoying warm red cast, and watch it instantly transform into a clean, professional shot!